

Whether you work out at home or at your local gym, there may come a time when your ankle bears the brunt of the exercise. You may experience a sprained or twisted ankle for which home care remedies are the best answer.
This medical injury can be caused by turning and twisting your ankle in the wrong way or not using proper exercise techniques which ultimately results in a sprain.
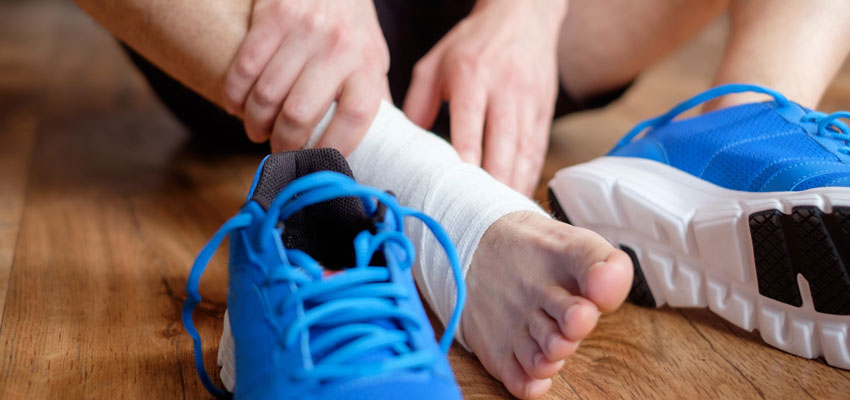
Ankle sprains are one of the most common sports injuries I treat. Quite often a patient will come to me with ankle sprain issues. One way to nurse a sprained ankle back to health is to tape your ankle. This will immobilize the ankle and prevent it from further injury as well as.
These are so common that even your favorite sports icon may have his or her ankle wrapped on a frequent basis. The important thing is to make sure that you know how to tape an ankle the right way.
Taping is an evidence-based treatment, specifically functional support. It will provide the healing capabilities needed to get you better and back to your normal daily activities in a quick fashion. The good news is that you can tape your ankle at home and get started on the road to recovery.
So, how do you properly tape an ankle to promote quick healing and inhibit further injury? We’ve got the step-by-step instructions on how to tape your ankle and do so the right way.
Taping an Ankle: Step-by-Step Instructions

Step 1: Buy Ankle Taping Products
The first step in the ankle taping or ankle strapping process is to buy all of the necessary materials. These can be purchased at your local pharmacy and you’ll have quite a few brands to choose from in each category. Alternatively, you can do a quick Amazon search for ankle tape.
In your product search at the drugstore, just look for the ankle icon or foot product icon in the drugstore. The materials needed include:
- Tape adherent
- Heel and lace pads
- Pre-wrap
- Athletic KT tape (two rolls)
These items found in your search provide the necessary assistance when you are learning how to strap an ankle and doing the ankle taping. Using these items will ensure that the taping is done in the best way and will produce the most beneficial results and support.
As an added bonus, these items are not expensive and will do the trick without costly therapy or treatment methods. Plus, you can do all of this in the comfort of your own home.
Step 2: Get in the Proper Tape Wrapping Position
Before you get into the actual taping of the ankle, you have to make sure the foot is properly positioned. Have the individual sit on a sturdy surface with their leg extended and foot at a 90-degree angle. The foot needs to remain in this position as you tape the ankle.
Step 3: Apply the Quick Drying Adhesive
Spray the quick-drying adhesive to the skin area that is going to be wrapped and do so in an evenly applied mist. This adhesive helps to keep the wrap in place once it’s applied.
Optional Step: Apply the Heel and Lace Pads
Once the adhesive has been sprayed on, it’s time to use the heel and lace pads. Put these pads on the top and underside of the ankle. The purpose of these pads is to prevent blisters from appearing due to the friction.
As you position the heel and lace pads, put them in a location where your shoes would touch and blisters might occur without the pads in place. For emergency ankle tape situations, you can skip the pads if you don’t have them.
Step 5: Wrap the Ankle with a Pre-Wrap
Before you put on the tape, you have to put the pre-wrap around the ankle. Start at the midfoot region and work from there to the bottom portion of the calf muscle. The heel doesn’t need to be covered. The purpose of the pre-wrap is that it helps prevent the tape from sticking to your skin and adds an additional layer of support to protect the injury.
Step 6: Apply the Anchors
The next step is to add the athletic tape anchors to the foot. Apply one to three anchor strips on the top portion of the pre-wrap. Each of the strips should overlap the other. Put one strip on the arch of the foot at the lower portion of the pre-wrap.
When you apply the anchors, make sure you use even tension to ensure that the strip is not too loose or too tight. Ask the individual if the wrap is comfortable.
Step 7: Attach the Stirrups
Starting on the inside of the ankle and working to the outside of the ankle, add three athletic tape stirrups that semi-overlap. Start at the top anchor and move down under the heel and bottom of the foot, then back up to the other side.
The stirrup will end at the starting anchor on the other side of the foot. As you put the stirrups on, make sure that the tension is even all around.
Step 8: Add Three Horseshoes
The next step to perform when wrapping the ankle is to make three horseshoes with the athletic tape. The horseshoes go from one side of the foot to the other, crossing over the Achilles tendon. Do this three times. This will stabilize the stirrups and add stability to the ankle.
Step 9: Wrap the Tape in Two Figure Eights
The two figure eights will be going in opposite directions. Start at the top of the foot at the ankle, move under the foot, back up to the top of the foot, and then around to the back of the ankle. Do this in the opposite direction one more time. Make sure the tape returns to its initial starting point for each figure eight.
Step 10: Apply Heel Locks
Heel locks are applied by taking the tape from one side of the ankle, wrapping it entirely around the ankle, and then completing the loop where you started. Apply this four times but be sure to alternate starting the tape on opposite sides, two on each side.
Step 11: Use Horizontal Strips to Tape Up
Starting at the ankle and working your way up, use horizontal strips to go around the calf as far as the pre-wrap extends. This horizontal strip tape will also help to stabilize the injured ankle.
Now You’re Ready to Safely Get On With Your Daily Activities
Now that your ankle is properly wrapped, you have the green light to continue on with your daily activities in a safe, pain-free manner. You can rest easy knowing that your health needs are cared for and the ankle is supported by the tape. It’s also semi-immobilized in a way that will protect it from further medical issues and help it to heal and get you back to optimal health. Just be patient with the progress.
With that said, be sure to proceed cautiously with certain activities, such as strenuous ones that put extra pressure on your injured ankle, as you want to give it time to strengthen.
Also, when working out, be sure to wear the right gym shoes to provide support and keep health injuries such as these less likely to occur in the future. An ankle injury may happen now and again, especially if you are an active individual, but don’t worry as there are ways to tend to those injuries.